
Diversify or Specialize
For years, the question that has challenged me is whether a woodworker should focus on specialization in one area or strive to be diverse enough to handle a wide range of projects.

For years, the question that has challenged me is whether a woodworker should focus on specialization in one area or strive to be diverse enough to handle a wide range of projects.

Here is a review of the features offered on the Pinnacle Measuring Tools.

I was always good at math in school. It was the one class I knew I could get a good grade in besides shop class.
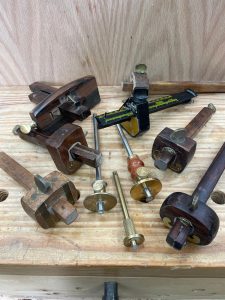
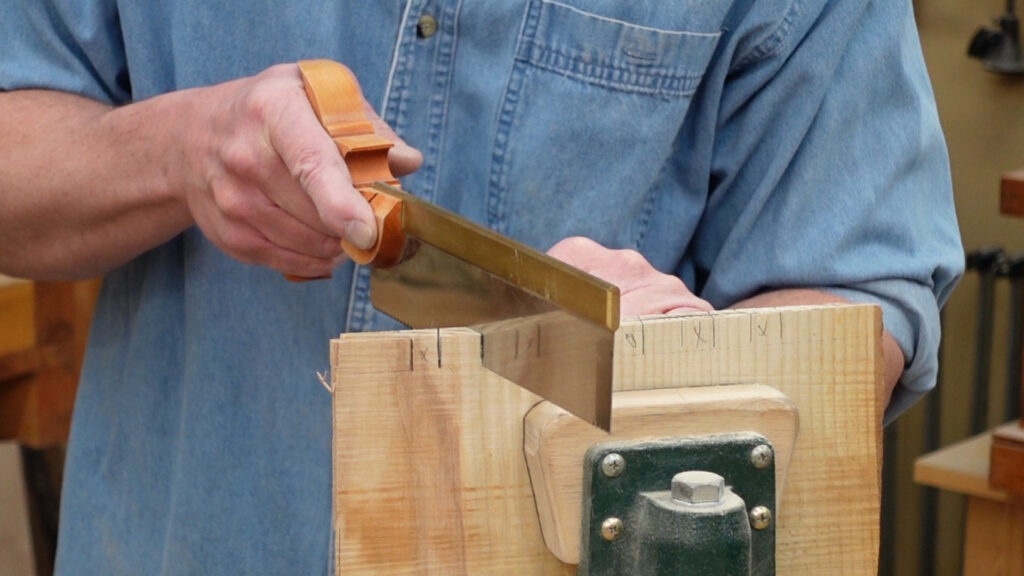
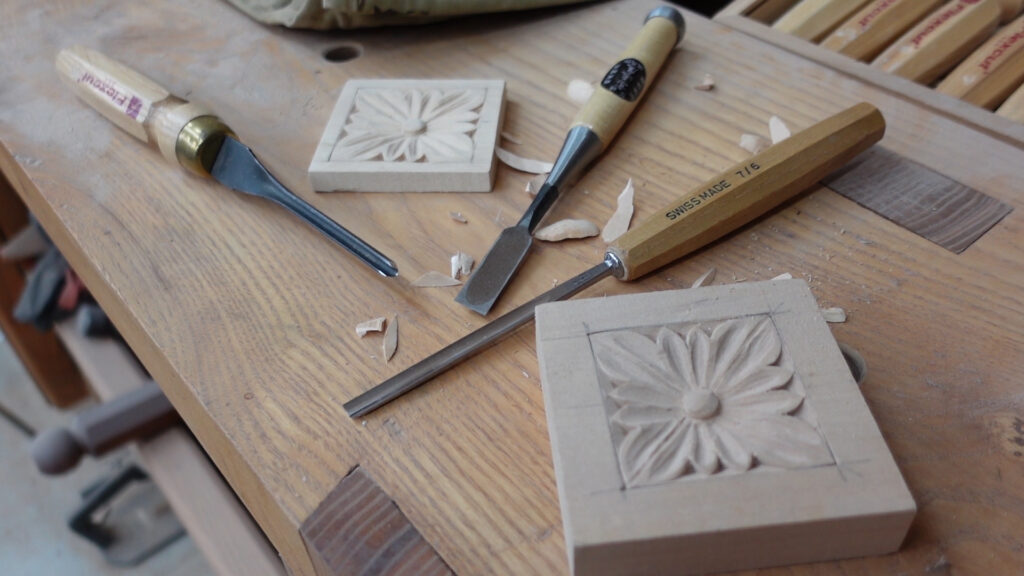
Woodworkers frequently utilize marking gauges as a standard tool to achieve precise markings on the wood, aiding in the planning and layout of their projects.
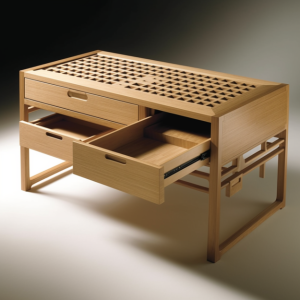
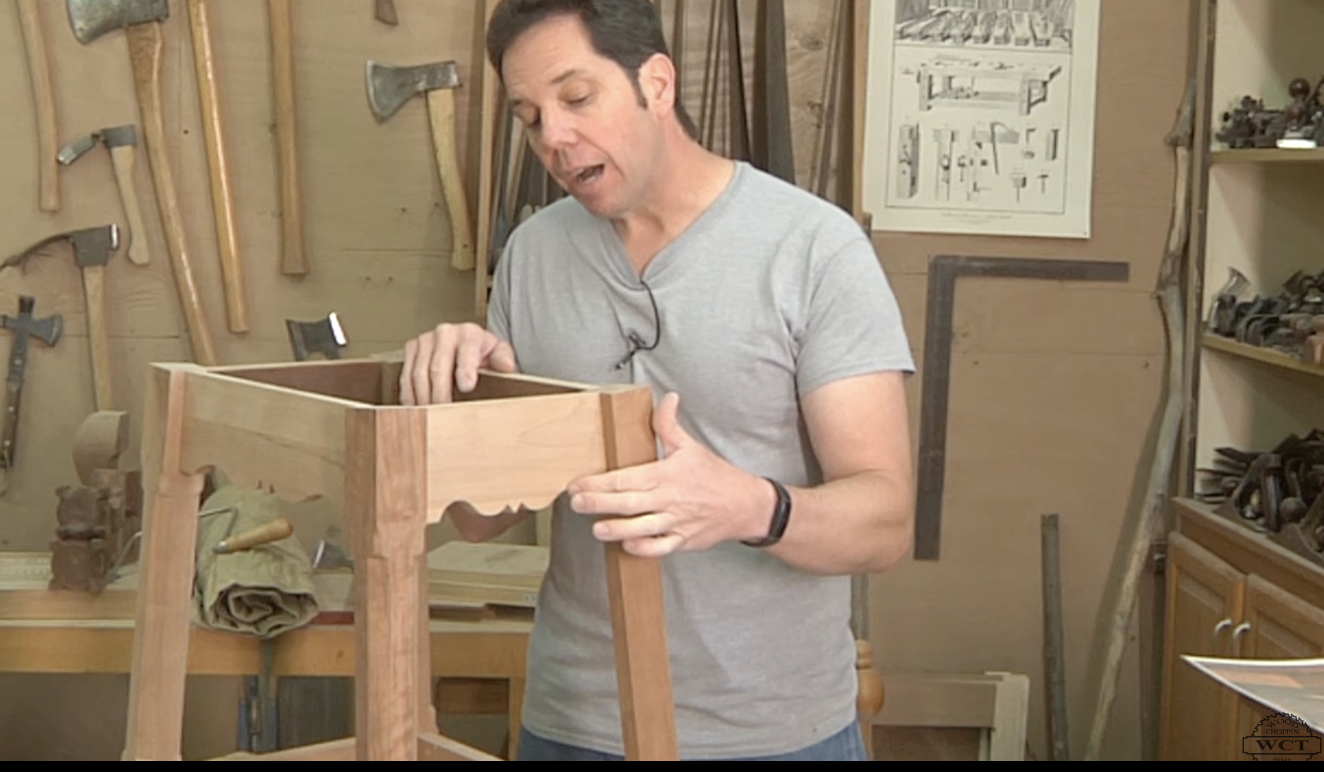
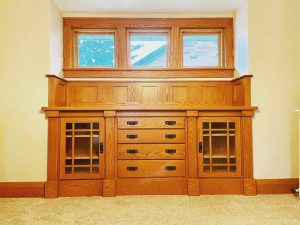
Whenever someone new comes into my house they are always impressed with the unique pieces of furniture I have designed and made. Of course, I

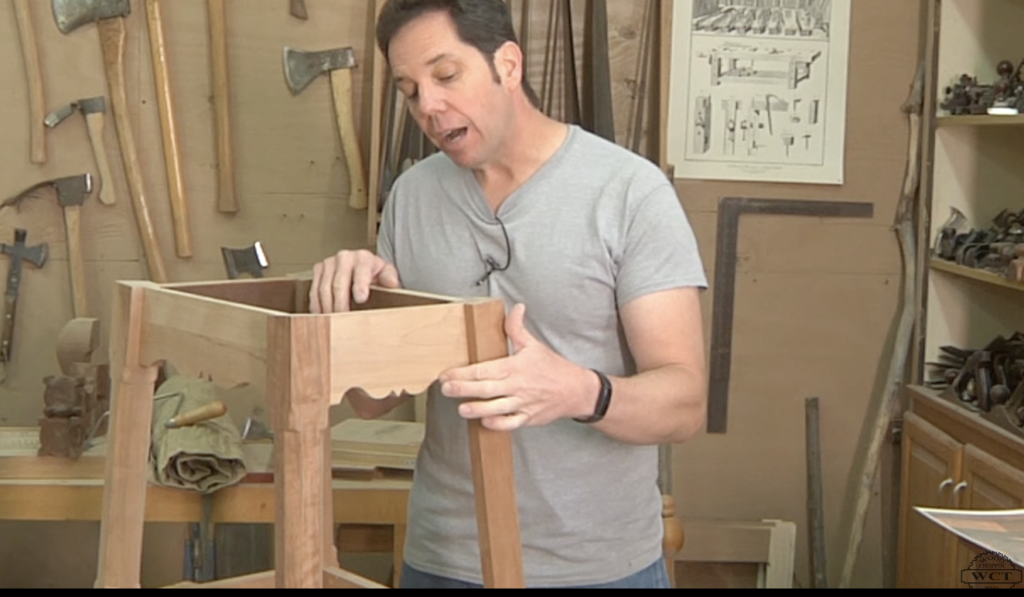
The chair. It seems like such a common piece of furniture we take it for granted because we see them everywhere. They are at the