Recently I met with a new client. This is always a very exciting time for me. I don’t do any advertising, so anything a new client has heard was by word of mouth. I always want to make sure I live up to their expectations. I welcome the opportunity to do a good job for a client, but I also want them to have an experience when working with me.
The new client came to my place and upon seeing the old tools everywhere they realized they stepped into a working museum. After questions of, “What is that?” and “How does that work?” I then take them for a walk through my house. My home is essentially a furniture gallery. I have pieces from antique reproductions to contemporary pieces all built and designed by myself. At this point, the client realizes they have come to the right place.
I enjoy taking the time to talk with the clients. I get to know a little about them and what they value. At the same time, it also gives them the opportunity to get to know a little about me. Up until now, if they had any doubt, it’s all gone and we finally got down to business.
I always welcome a new project. I especially hope it’s something I never have done before or it is something very challenging. But the client had something I don’t normally enjoy working on. It was stripping and refinishing a small kitchen table.
I typically would turn down this job. Sanding and finishing is my least favorite thing to do and I already had plenty of work going in the shop. But the client told me it was his sister’s table and his niece did a lot of homework at the table. So in typical fashion, I agreed. I just can’t say “No” when kids are involved.
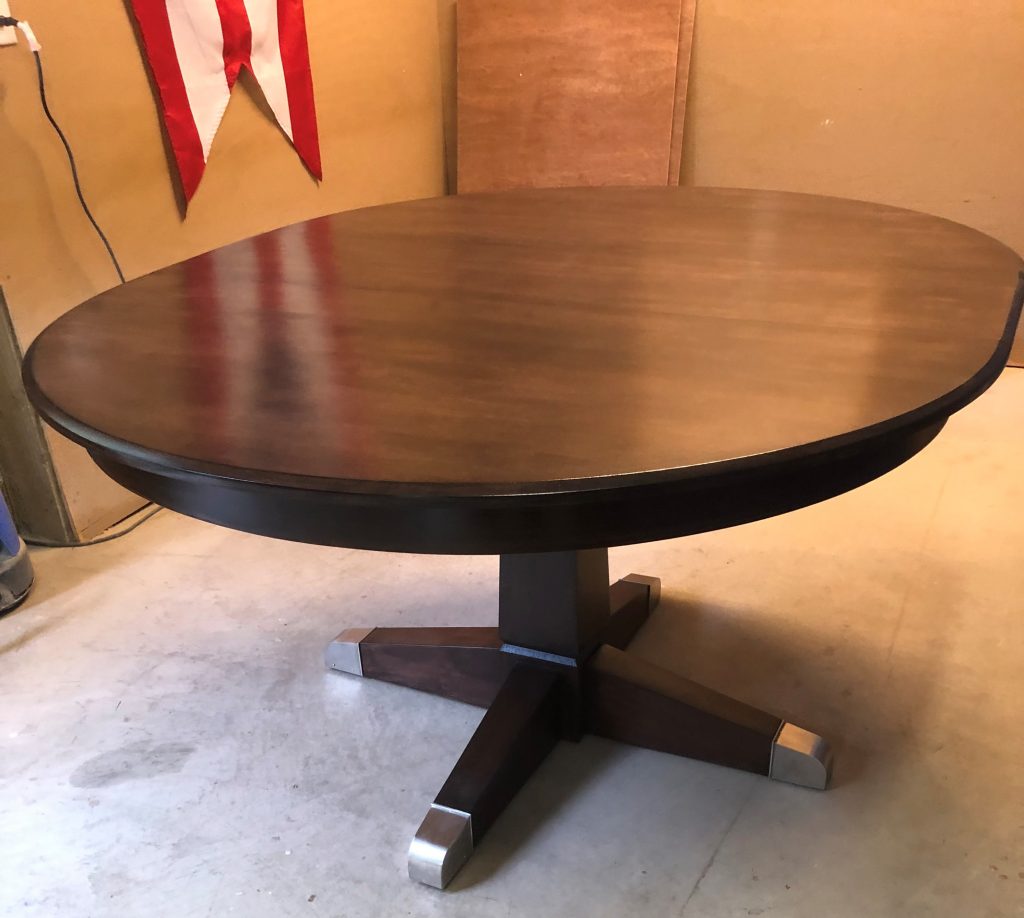
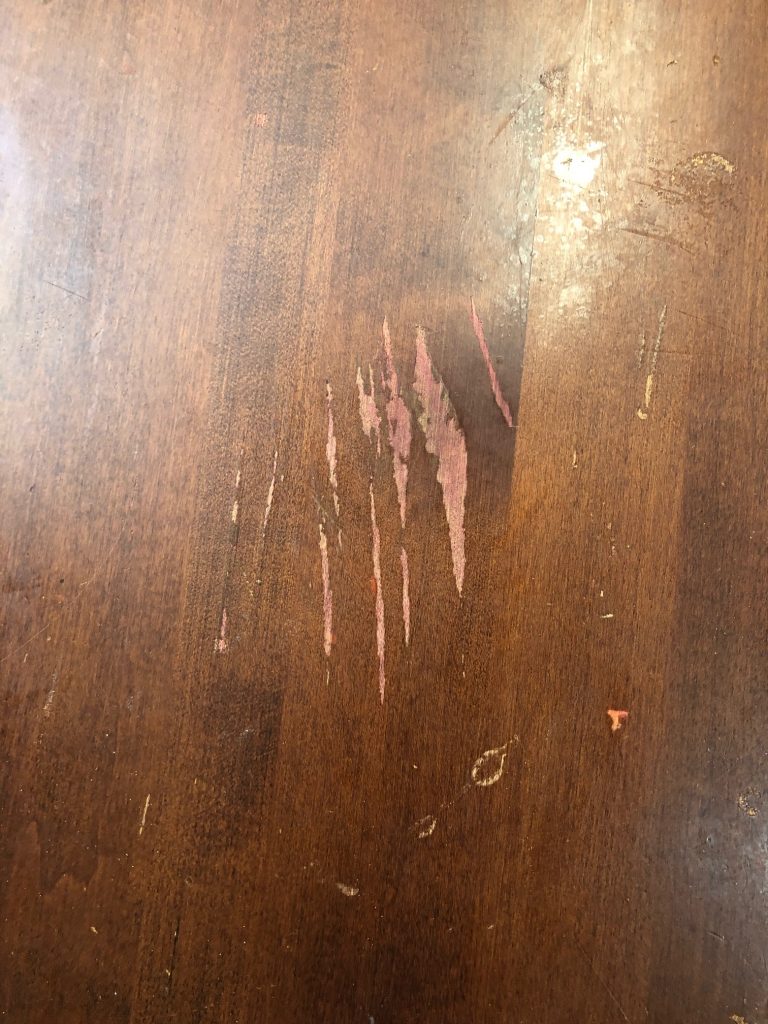
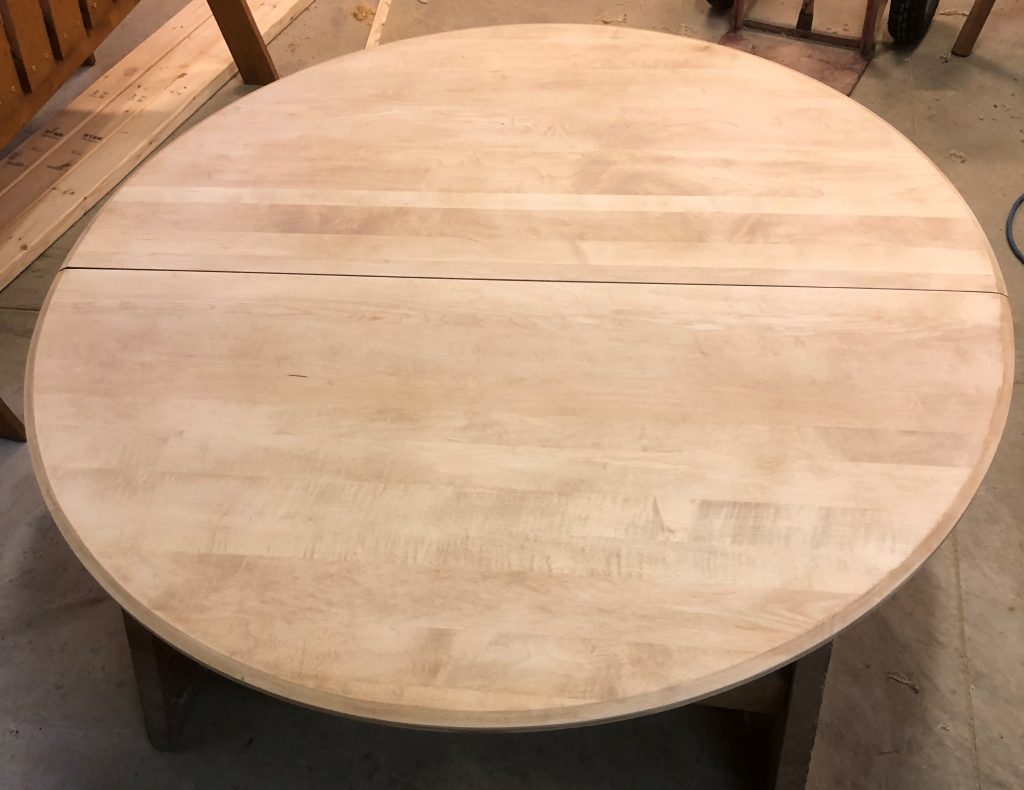
The table had seen better days. It was scratched up pretty bad and the color on it was definitely out of style. I noticed the table was made to accept a leaf in the middle but the client said they never had one for it. I’m guessing it was built in the 80’s, but it was solid wood and constructed pretty decently. So it makes sense why they wanted to refinish it versus buying a new one.
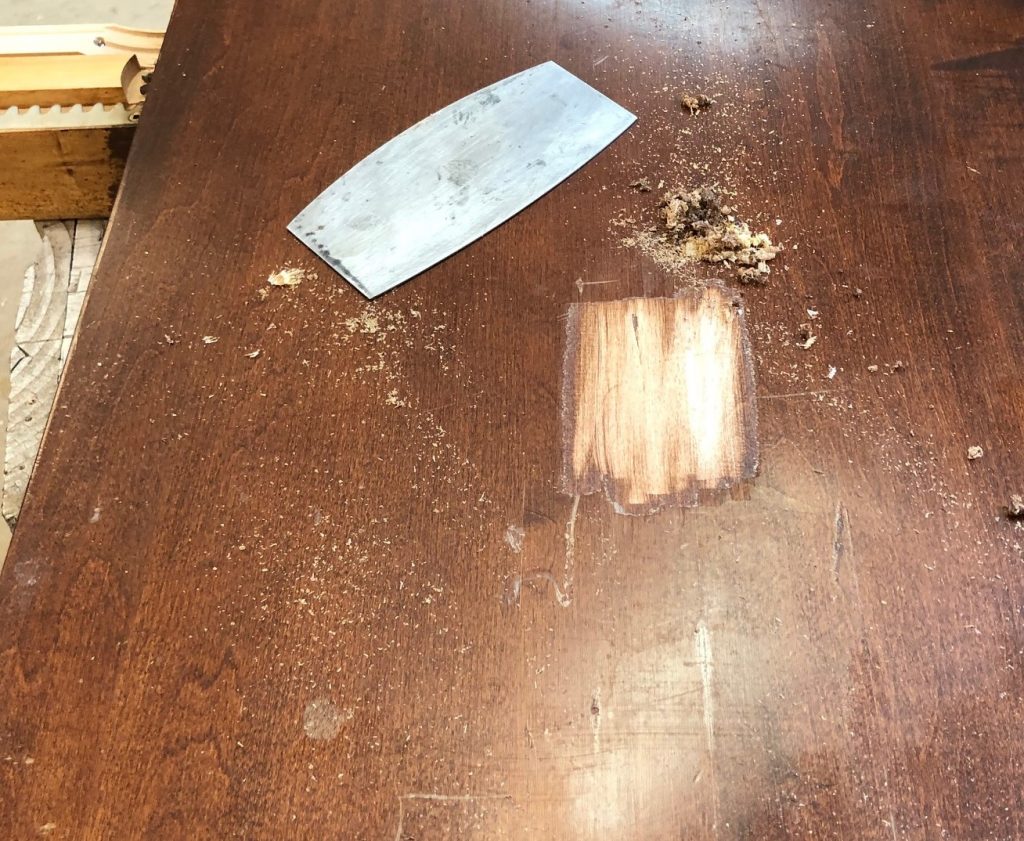
Stripping the old finish off is not fun or easy. I used a combination of paint stripper solutions and my trusty old card scrapers. Card scrapers do a much better job than trying to use sandpaper to remove the finish. If you never used them before I highly recommend them. (Here is a link if interested in purchasing them ) With the finish and stain scraped off, I then sanded it to a smooth finish.
The table was maple and I typically enjoy the look of maple but this table was a bunch of 3” strips glued together. The individual pieces all had grain going in different directions and no consideration of matching the grain. In my opinion, it is an unpleasant arrangement. The other issue I have with maple is it tends to be splotchy when applying the stain. (the same results can also appear in cherry and pine) This is because these woods can absorb penetrating stain at different rates and it creates a rather unappealing result. One method to help prevent this is by using a gel stain versus a penetrating stain. Gel stain is thicker than a penetrating stain. It’s more of a surface-mount stain, which can give a more even toning over the wood. So this was the route I decided to go. The client suggested a popular color these days, Java, and I purchased a can of gel stain for it.
I followed the directions on the can and applied the stain. I waited a short amount of time and then wiped off the access of stain. The result looked terrible. I couldn’t believe what I was looking at. Each individual strip of wood had absorbed at different rates. It looked like a deformed zebra. I was disappointed but not panicked. I let it dry and the following morning I applied a coat of sanding sealer. This would lock the color in and I figured I’d apply another coat over it to darken it up. Again, major disappointment. I still looked terrible. I figured I could just explain to the customer that this is the nature of the beast when dealing with maple, but that is not a good enough reason for me.

I called my friend, Brian Vermilye, over at Cabinet Wizard. He does a ton of stain touch-ups and he had to admit, this table was one of the worst he’s seen. He suggested using blending sticks or masking off the dark areas and applying stain on it with a sprayer. That sounded like a lot of work and I wasn’t sure if I had the “right touch” to blend the colors together. He does it all the time, so it’s easy for him. Not so much for me. So looking for another answer, I decided to turn to social media for some help.
Most larger companies these days have a social media page with someone to monitor it. Without throwing this company under the bus, I’ll just call them “Generic Finish”. I wrote to the company and showed them my problem and then waited. And waited. Oh did I mention, I waited. Now I will say that I can get impatient and would like a reply in a fairly quick manner. But not all companies can give that kind of service. But I did know one company that does!
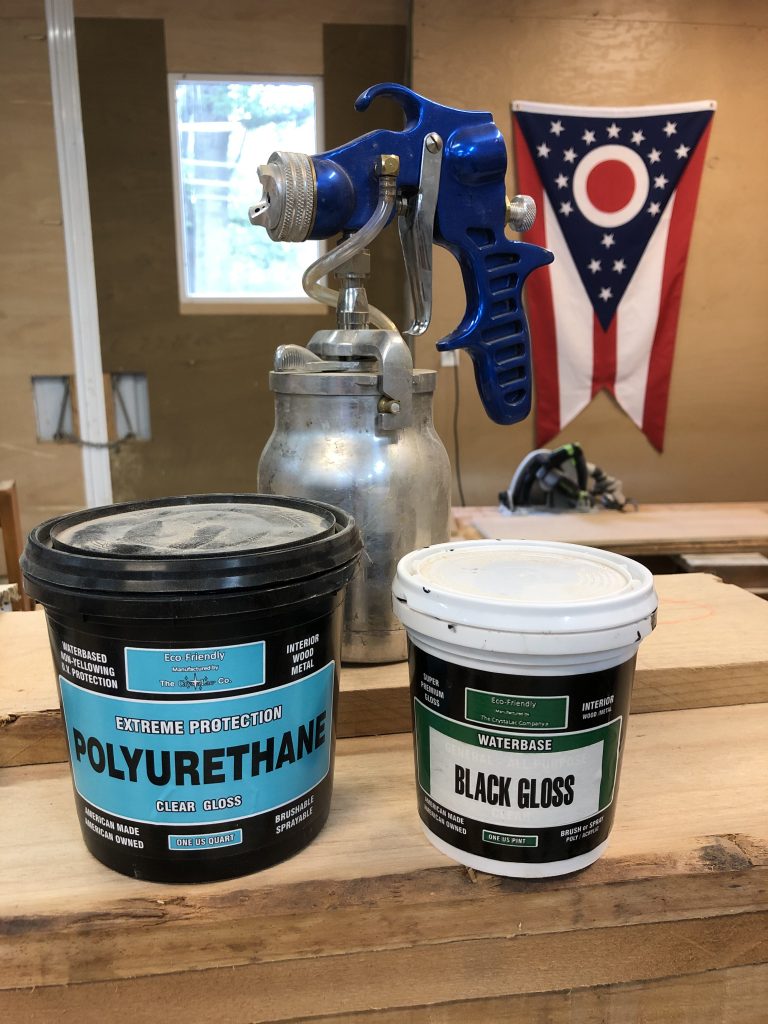
I called David Shepard of the CrystaLac company. I have to admit, I felt a little shameful calling him and asking for help on a competitor’s product but I needed some expert advice to complete this job. I explained to David my situation and showed him the pictures. Without any prejudging or snide remarks to me, he offered me a few solutions. David suggested using their Black gloss mixed with their Super Premium topcoat and brush it on the light areas. Just like the suggestion, Brian gave me and I had this product in stock. I was really doubtful that applying black on top of this brown was going to work, but it started looking good!
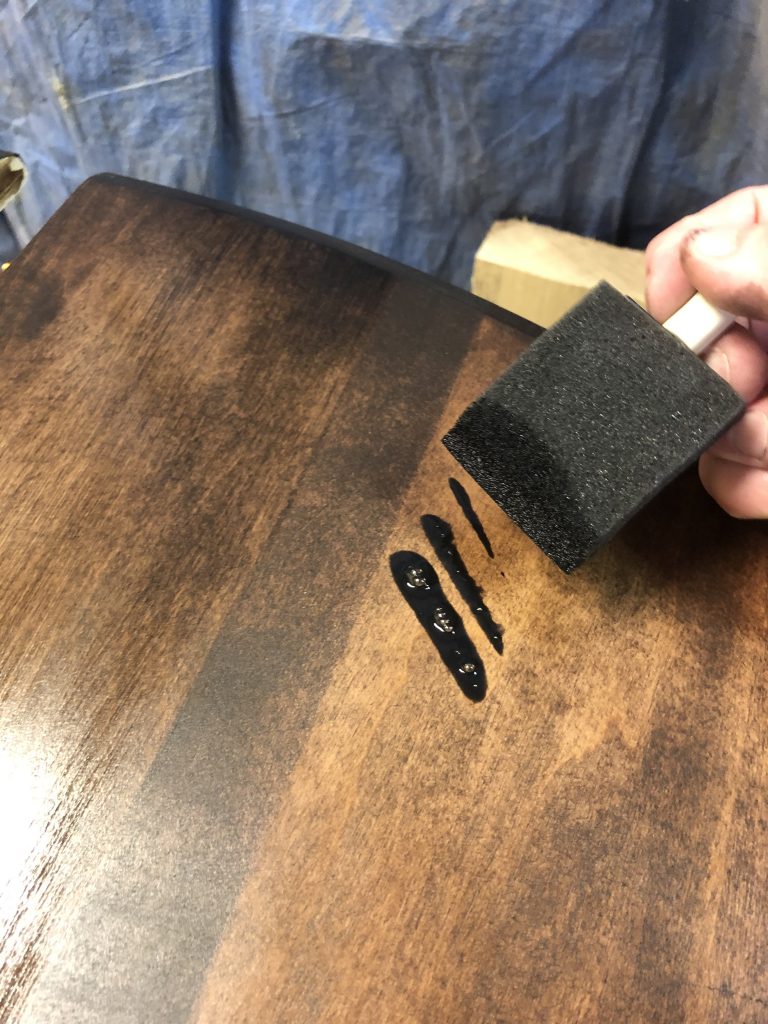
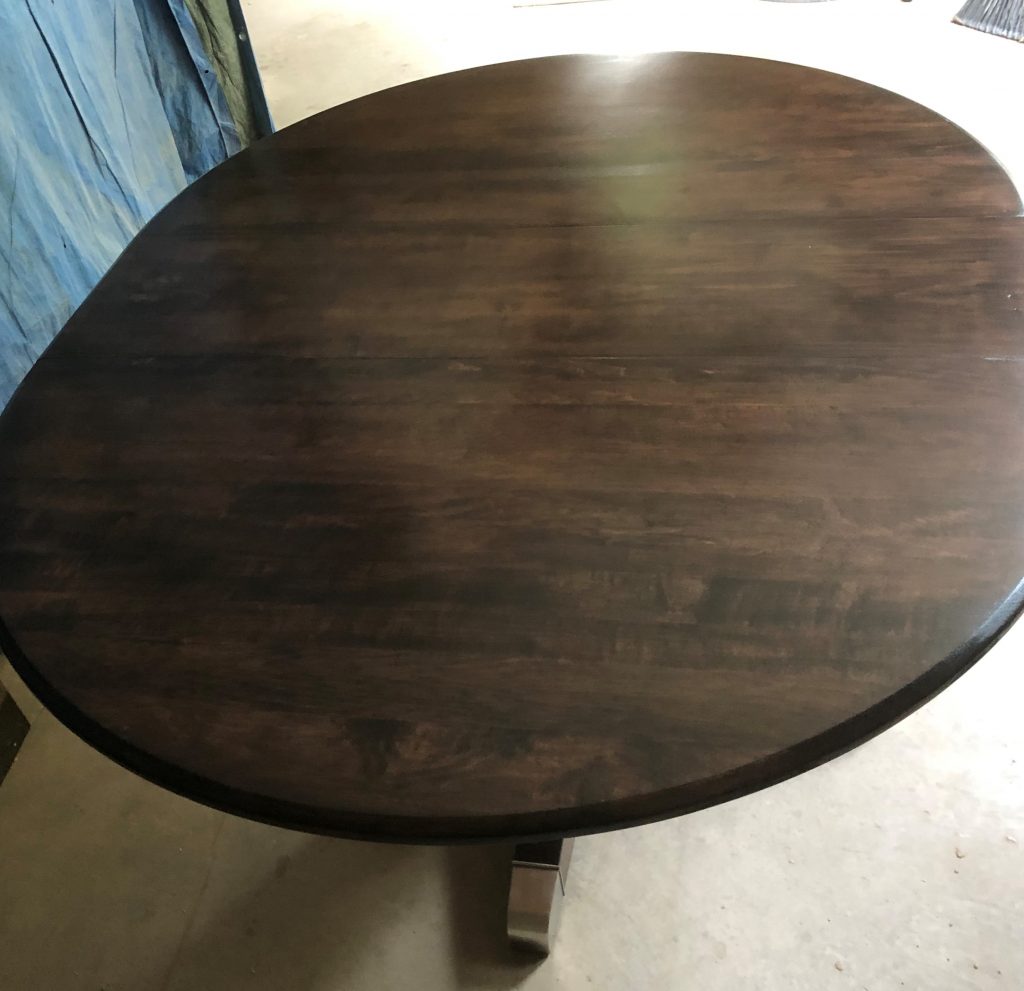
Then David suggested I mix a smaller amount of black onto my sprayer with the topcoat. This way as I add the layers of topcoat for protection. It also slightly darkens the whole tabletop evenly. I had to admit, it worked beautifully and saved me the time and trouble of completely re-stripping the table back down. By the way, I also found out CrystaLac offers a java stain so I’ll be trying that out next week on another project.
When the client came to pick up his table he was in for quite a surprise. Not only did it look completely different he also noticed it looked larger too. Well, that was because I decided to make and add a middle leaf for it. I thought the niece might enjoy a little bit more workspace and hopefully one day their family grows and will have many memorable and enjoyable dinners together. In the end, the client was so impressed I immediately received more jobs from him.
I really want to thank Brain Vermilye and David Shepard with their great advice and customer service. They saved this job and my reputation. It just goes to show, no matter what size your business is, making each customer feel they are important makes a big impression.
Visit the CrystaLac Store company here
Oh, I almost forgot, as far as my help from “Generic Finish”, well they finally did reply to my inquiry for help. They said they have so many questions they don’t have time to answer them, however, the suggestion they gave me was to join their Facebook group page and to visit their website for more products to purchase. Mmmmm… Thank you Generic Finish, but I’m good.